Follow the latest thinking from people working at the cutting edge of innovation and have your say on everything from economic policy to robot overlords.
In virtually all open source projects that are particularly within the CMS i.e. content management system space, add-on modules are available that both the developers and editors can install to improve the system functionality. You’ve probably heard them being called as apps, modules, add-ons, plugins, and extensions.
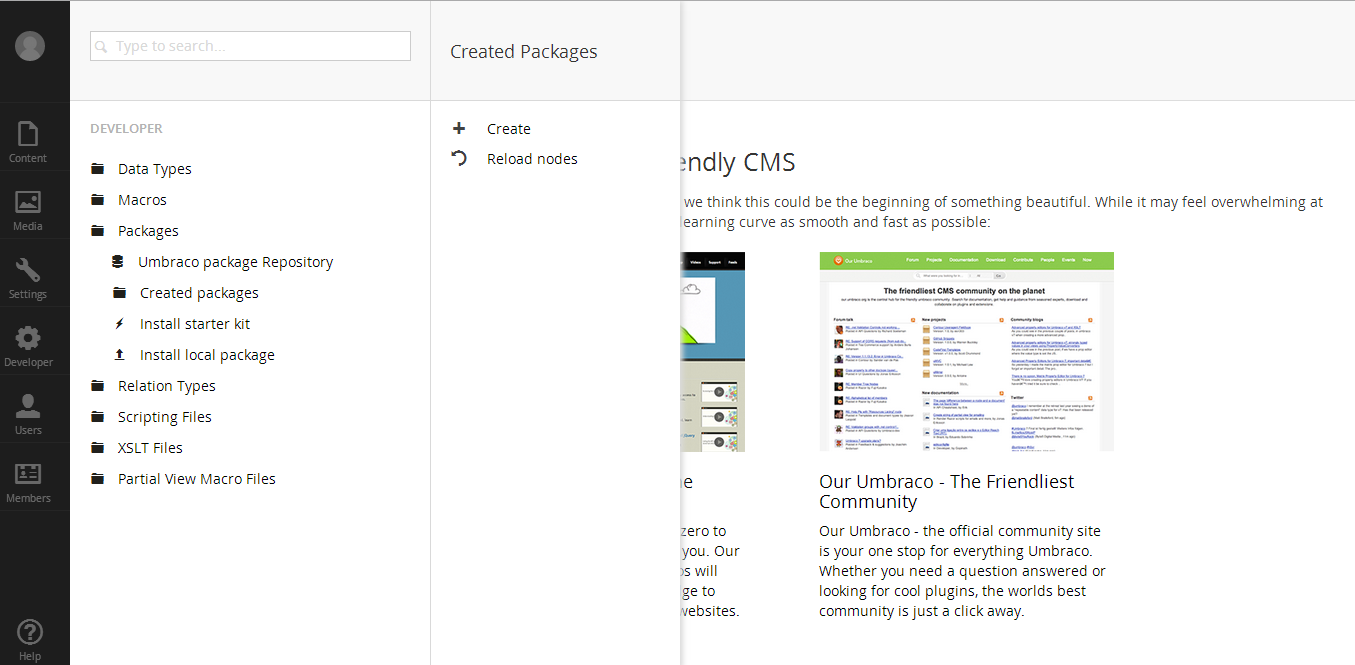
Following is the guide to creating a local package in Umbraco.
1. Right-clicking the Packages node in the Developer section, as shown in Figure.
2. Name your new package xxxx by filling in the name field in the resulting popup.
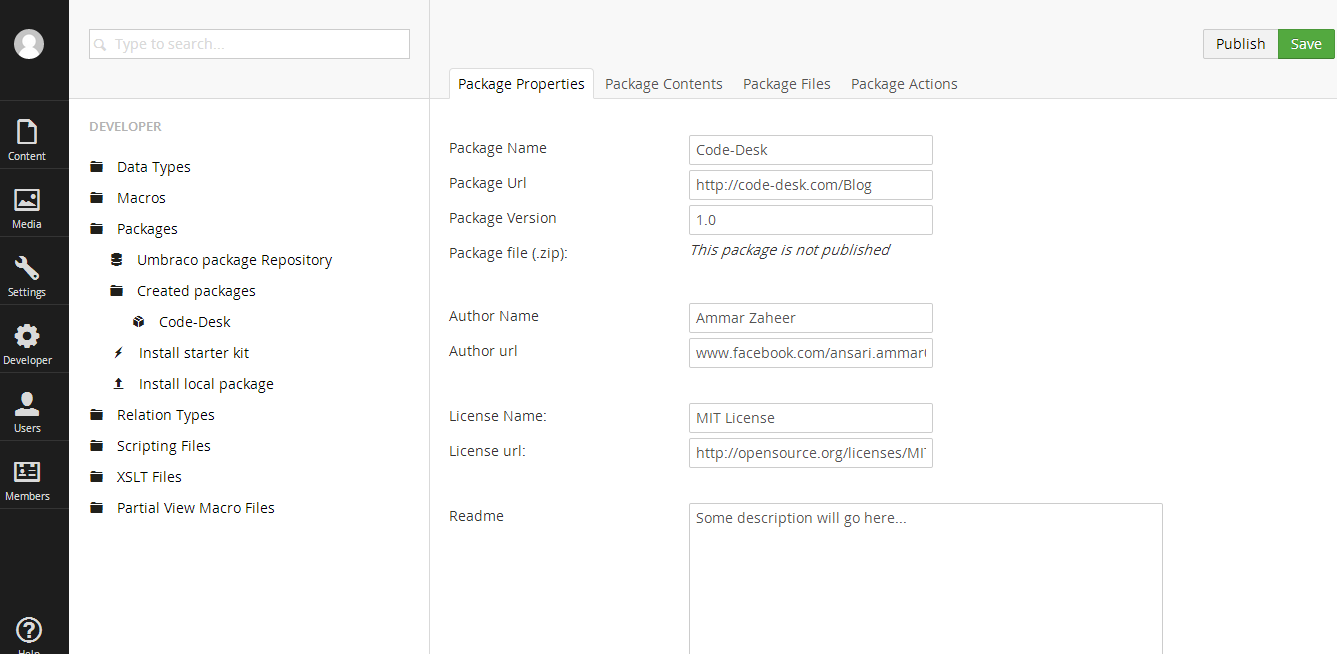
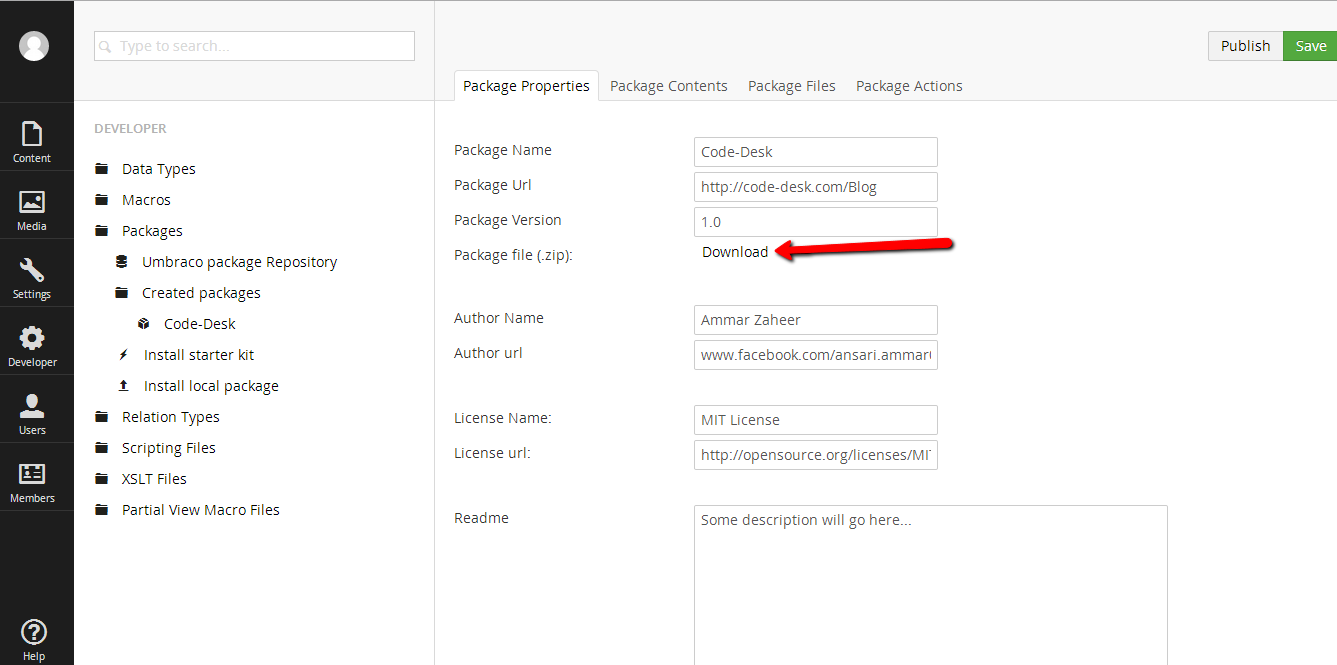
3. Fill in all the fields in the Package Properties tab, as shown in Figure. Package URL: The URL of the site where this package is described/documented.
Package Version: That is, 1.0 or 0.1 and so on.
Package file: This field remains empty until you publish the package.
Author Name: Full name of the author of the project. Contributors can be added to the project details when uploading to the community site, but only one author should be listed as part of the package details.
Author URL: Your blog or corporate site URL.
License Name: Researching the license model for the package is up to you. The default is MIT, just like the Umbraco core.
License URL: This would be the URL for the details of your license.
Read me: This field is your opportunity to educate the installer of what the package does and to include any special instructions.
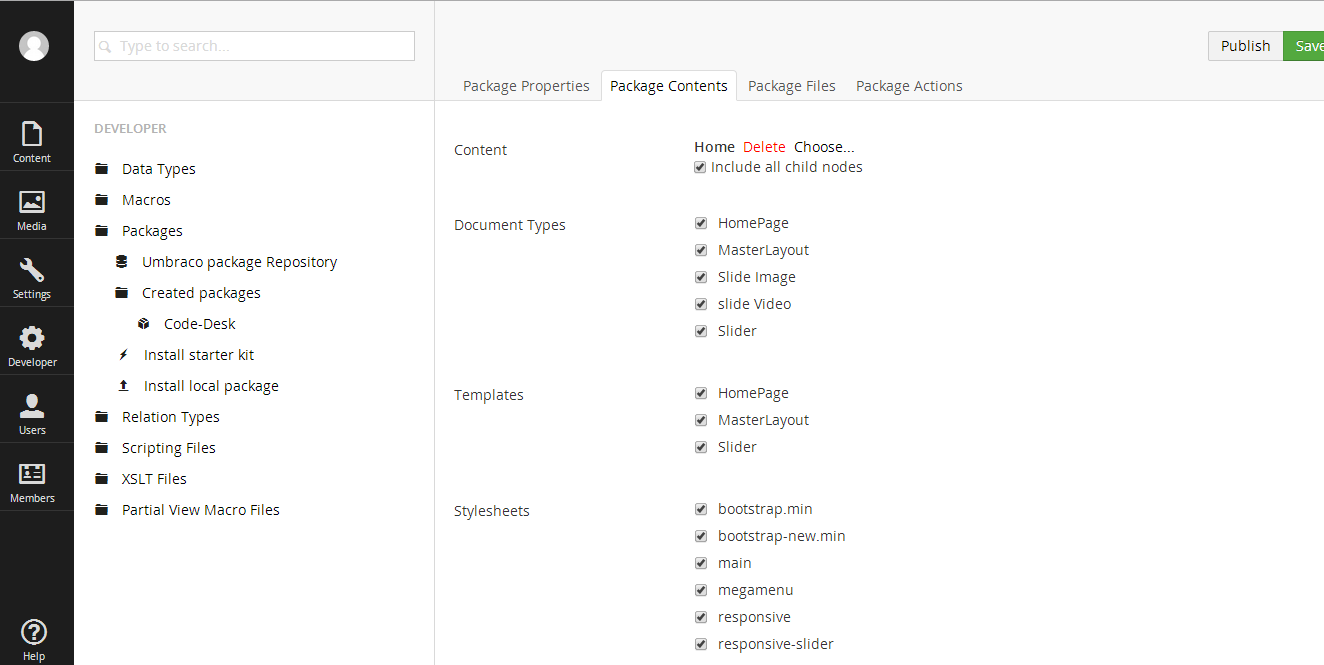
4. Click the Package Contents tab and select the applicable elements to include.
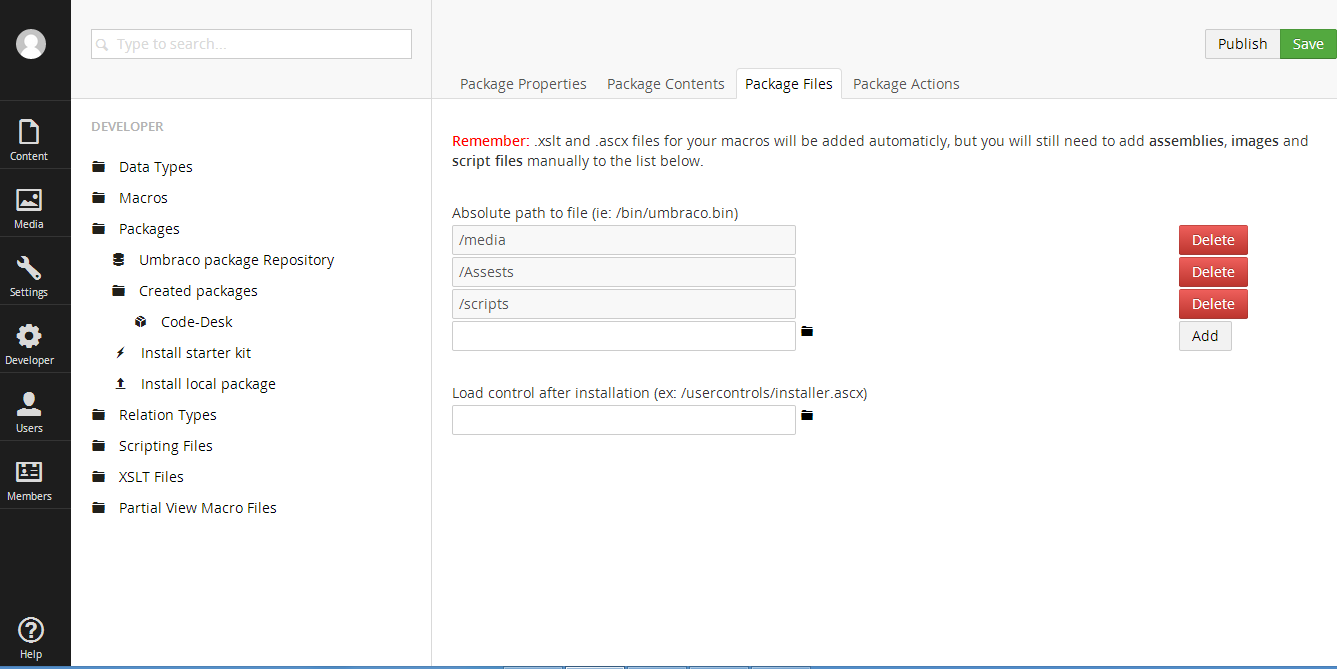
5. .xslt and .ascx files for your macros will be added automaticly.Before publishing the package, all media objects, partial views, plug-in will be added manually in package file tab.
6. In addition to using the built-in tools for creating packages, you can extend the functionality by using the Package Actions tab. Package Actions are a means for you as a developer to execute common tasks during and after the installation process of a package. The actions are configured as instructions using XML. Examples of usage for these actions include adding an <umbraco:macro /> tag to an existing template, allowing a document type as a child element of another, or moving nodes in the content tree. For example,
ACTION ALIAS: add Application Description: Creates a new application and adds it to the database.
Sample Code: <Action runat=”install”
[undo=”false”]
alias=”addApplication” appName=”Application Name” appAlias=”myApplication” appIcon=”application.gif”/>
7- Once published you may download it from created packages.